
Without the length and width and not use old (GPL) let's make a gradient!
1. Run the program Photoshop.How: Start -> All Programs -> Adobe Photoshop
2. Create a new WorksheetHow: press [Ctrl] + [N]You can make your own arrangements, butHere I set it like this:Name = gradientSazes preset = 800 x 600Width = 800Height = 600Resolution = 72 pixels / inchMode = RGB ColorContents = Transparent (* recommended)Press [ok]
3. After that click on the Gradient Tool with the image icon on the left tool box
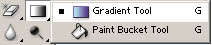
Gradients Tool
4. On the upper screen there are the properties of the gradient

Left click on the section that I gave lingkakaran dialog box that appearsGradient Editor
This is the normal setting on my computer
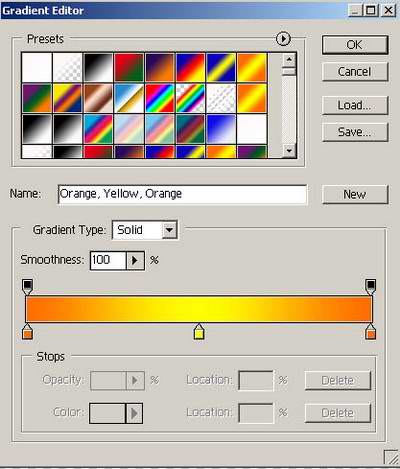
5. Now is the time to edit the gradient is desired, as an example I will create a gradient"Red - black - red - black - red"Here's how:Change Name = red - black - red - black - redGradients Type = SolidSmoothness = 100%
 Click the circle with no. AThen the circle and select the color red no.2 [OK]
Further
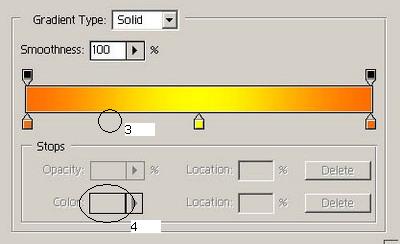
Just like the previous stepbut this time at no. 4 black color you select [OK]
Further

Yup still the same but this time at no. 6 select the color red
Further

Equally, no color change. 8 to be black
Further

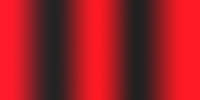
Equally, no color change. 10 into the red
The result:

After that, click the New button on the Gradient Editor dialog isAnd So ........You can develop yourself according to your creativity
A little extra

Try with gradian mode that you createdThere are 5 kind of gradient mode:
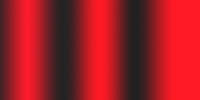
a. Linear GradientGradient in the direction of the straight lineOn Worksheet hold left click then brush from left to right, the result:
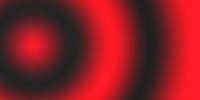
b. Radial GradientsGradient as if emerging from the center of a circlethe result:
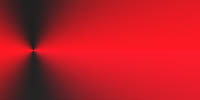
c. Angle GradientGradient with a certain angle but still centered on the coreThe result:
d. Reflected GradientJust as linear but with a reverse effect
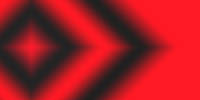
e. Diamond GradientGradient with effect rhombus / diamondThe result:
Purpose:By mastering the gradient technique will make your design more attractive and real
GOOD USEFUL


0 komentar:
Post a Comment